Repurposed Security Envelopes

You know all those envelopes that come with your credit card bill? i never use mine since I make my payments online. I always feel a little bad about throwing away a perfectly good envelope, so I decided to reuse them. Basically, I turned them inside out and added a little color. Now they are good to go. Want to know how? An abridged tutorial follows, and excruciating detail is available in my Flickr Set. click any of the photos for a larger version….
here’s what you need:
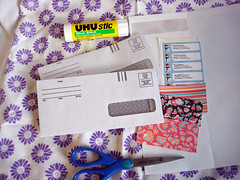
– Envelopes
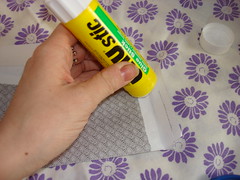
– Glue Stick
– scissors
– Decorative paper
– Avery-type blank address labels or something similar.
– Freebie mailing labels (optional)
– Double-sided tape and regular transparent tape (optional – you need both or neither of these).
Before you start, cut the decorative papers to a size that is about 1/4 inch larger than the window in the envelope.
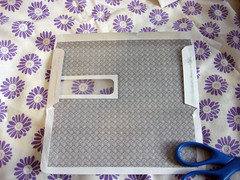
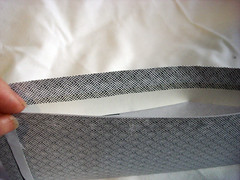
Gently peel open the envelope at the seams, and coax it with scissors if necessary. I have been really lucky and had no problem with this part.

Flip the envelope over so you are looking at the white side. Next, you need to block the little cello window. Place glue around the window being careful not to get anything on the window.
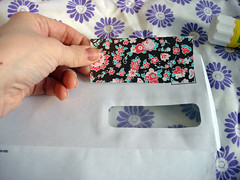
Place the decorative paper fancy side down on the glue.
Fold up the bottom of the envelope, and add glue to the side edge. now you can reconstruct the seam that you ripped open earlier. repeat on the other edge of the envelope.
Now you might start fretting about the fact that the glue is on the outside of your envelope.
I would recommend not worrying about it and just tucking the flap in after you moisten the glue. If you don’t like this idea, here is where you need 2 kinds of tape. Cover the original envelope glue on the outside with a piece of transparent tape (you don’t want it to get damp and stick to everything in the mailbox!). Then on the inside of the flap where you would expect the glue to be, place a strip of double sided tape. Don’t peel off the protective paper until you are ready to seal the envelope.
As an alternative to decorative paper, you can also use out-of-season freebie address labels to cover up the window.
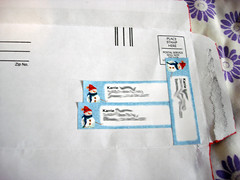
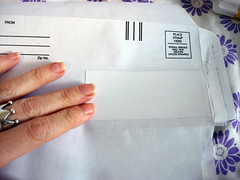
This will be white when you flip the envelope over. As far as I can tell*, you could probably just use a sharpie and write on the cello window to address the envelope, and you’re done.
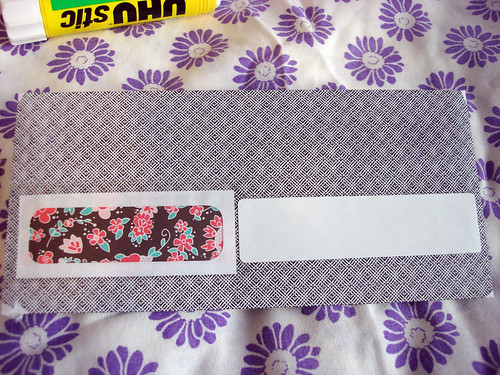
If you used decorative paper, you will need to add a white address label to make a position to write the destination address. Can you imagine how the USPS machines would freak out if you wrote the address on the security pattern?
That’s it! If you try it, i would love to see how your envelopes turn out!
* As far as I can tell, the only USPS requirement for the placement of the destination address is that it should be parallel to the long edge of the envelope.